Are you ready to take your filming skills to the next level? In this article, we will share some pro tips that will help you create stunning videos like a true master of the art. Whether you’re a budding filmmaker or a seasoned vlogger, these tips will provide you with the knowledge and techniques to bring your videos to life. From composition and lighting to camera movement and editing, we’ve got you covered. So grab your camera and get ready to unleash your creative potential with these expert tips!
Equipment and Gear
When it comes to filming, having the right equipment and gear can make all the difference in the quality of your videos. From choosing the right camera to essential lenses and accessories, as well as tripods and stabilizers, investing in the right equipment will set you up for success.

Choosing the Right Camera
Choosing the right camera is the first and most crucial step in your filmmaking journey. Consider factors such as image quality, sensor size, and versatility when making your decision. DSLR and mirrorless cameras are popular choices for their excellent image quality and interchangeable lenses, while camcorders offer the advantage of built-in stabilization and longer recording times.
Essential Lenses and Accessories
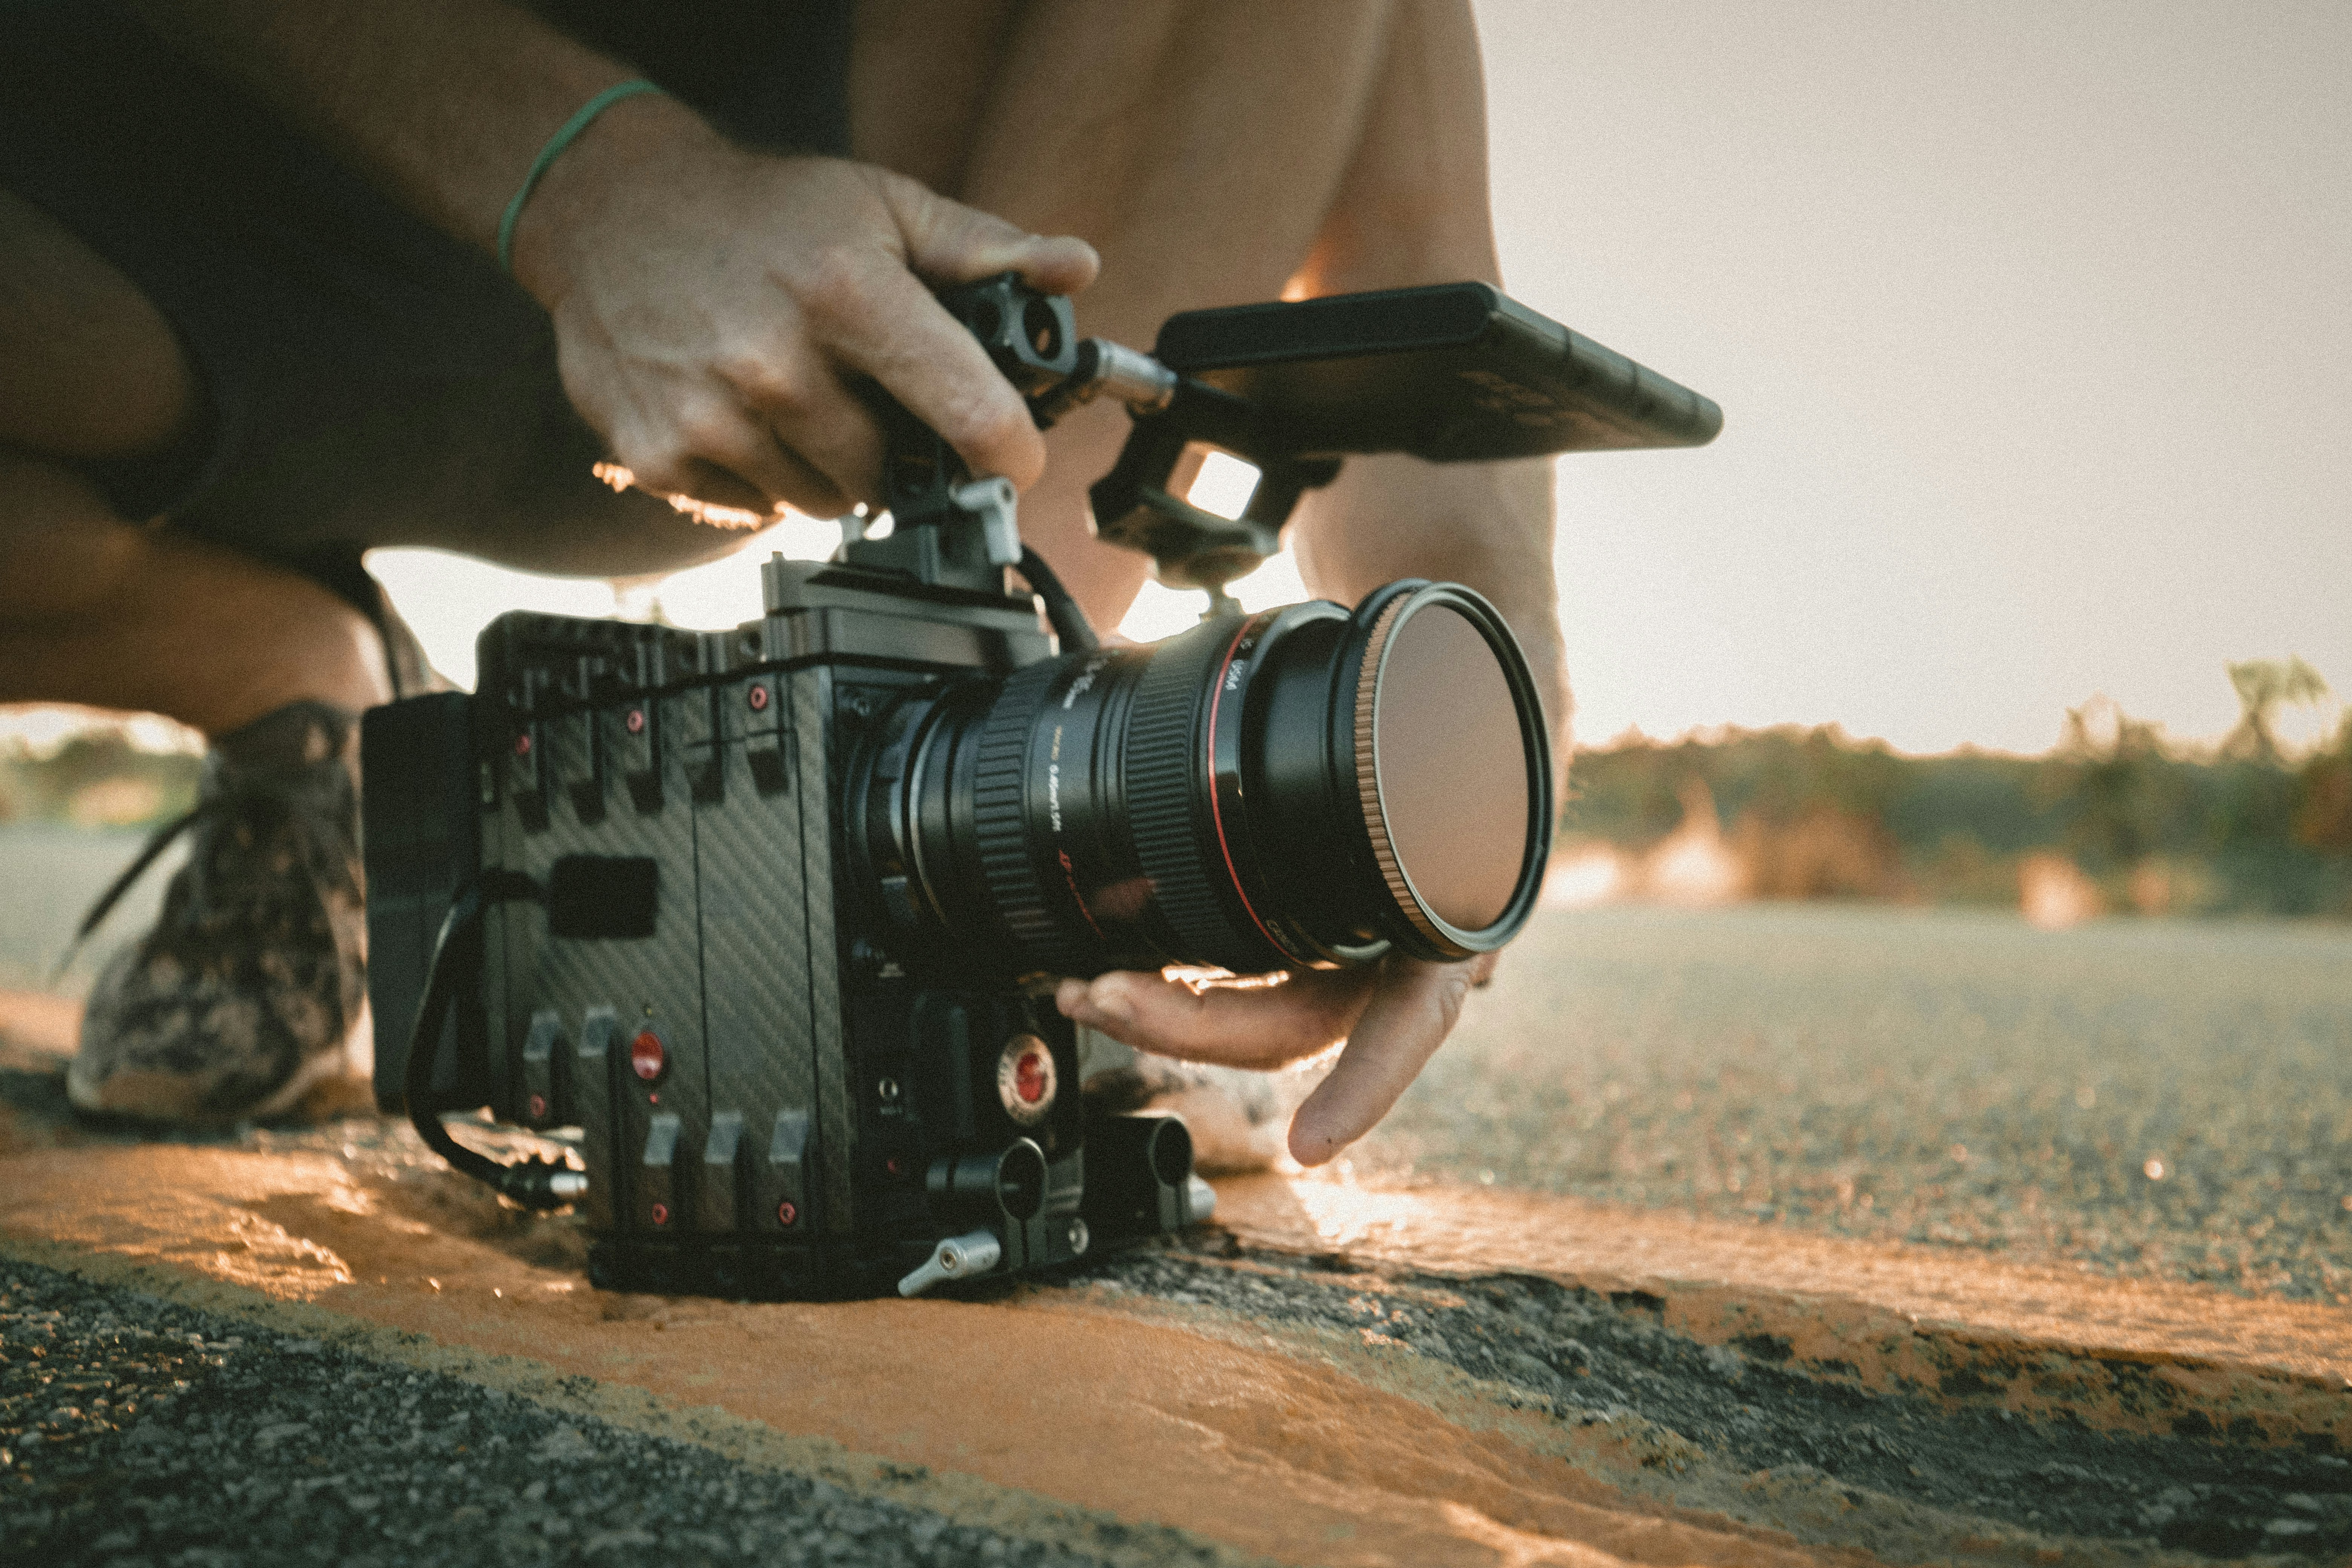
Lenses play a vital role in enhancing the visual impact of your shots. An all-purpose zoom lens, such as a 24-70mm, is a versatile option for capturing various angles and perspectives. Wide-angle lenses are ideal for capturing expansive landscapes, while telephoto lenses allow you to get up close to the action. Additionally, investing in accessories like filters, extra batteries, and memory cards will ensure you’re always prepared for any shooting situation.
Tripods and Stabilizers
Even with the steadiest hands, it’s challenging to capture footage without any camera shake. That’s where tripods and stabilizers come in. Tripods provide a stable base and allow you to set up your shots with precision. For more dynamic movements, consider using a stabilizer, such as a gimbal or a steadicam, which helps eliminate any unwanted camera shake and gives your videos a polished and professional look.
Camera Settings
Understanding the settings of your camera is crucial for achieving the desired look and feel for your videos. By mastering concepts such as shutter speed, aperture, ISO, and their impact on your footage, you’ll have complete control over your creative vision.
Shutter Speed and Frame Rate
Shutter speed refers to the length of time your camera’s shutter remains open, allowing light to enter and expose the sensor. It affects the amount of motion blur in your shots. Higher shutter speeds freeze action, while slower speeds create motion blur. Frame rate, on the other hand, determines how many frames are captured per second. Higher frame rates result in smoother motion, while lower frame rates create a more cinematic and dreamy look.
Aperture and Depth of Field
Aperture refers to the opening in your lens that allows light to enter the camera. It affects the amount of light reaching the sensor and controls the depth of field in your shots. A wide aperture (small f-number) creates a shallow depth of field, where the subject is in focus while the background is blurred. A narrow aperture (large f-number) produces a larger depth of field, keeping more of the scene in focus.
ISO and Noise Reduction
ISO determines the sensitivity of your camera’s sensor to light. Higher ISO settings are useful in low-light situations but can introduce noise or grain into your footage. Lower ISO settings produce cleaner images but require more light. Experiment with different ISO settings to find the balance between capturing enough light without sacrificing image quality. Utilize noise reduction techniques during post-production to minimize any unwanted noise in your footage.
Composition Techniques
Composition techniques are the building blocks of visually captivating videos. By understanding and implementing concepts such as the rule of thirds, leading lines, symmetry, and patterns, you can create aesthetically pleasing and engaging shots.
Rule of Thirds
The rule of thirds is a tried and true technique used in visual arts to create more balanced and compelling compositions. Imagine dividing your frame into a 3×3 grid and placing your subject or main focal point along the gridlines or at the intersection points. This technique adds visual interest and creates a sense of balance in your shots.
Leading Lines
Leading lines are lines within your frame that draw the viewer’s attention towards the main subject or point of interest. They can be natural elements like roads, rivers, or architectural features such as railings or staircases. By incorporating leading lines into your shots, you create a sense of depth and guide the viewer’s eye to where you want them to look.
Symmetry and Patterns
Symmetry and patterns can create visually stunning compositions that instantly captivate the viewer. Look for symmetrical elements in your surroundings, such as buildings or natural landscapes, and use them as a focal point. Additionally, patterns found in repetition, such as rows of trees or a group of people standing in a line, can add visual interest and create a unique and eye-catching shot.
Lighting
Lighting is one of the most critical aspects of cinematography, as it sets the mood, enhances the visual appeal, and brings your shots to life. Whether you’re working with natural lighting, artificial lighting, or a combination of both, understanding how to manipulate and control light is essential.
Natural Lighting
Natural lighting refers to the use of sunlight or ambient light available in your shooting location. The quality, direction, and intensity of natural light can vary throughout the day, creating different atmospheres in your shots. Golden hour, the hour after sunrise and before sunset, provides soft and warm lighting, while midday sun can create harsh shadows. Experiment with different times of the day to capture the desired mood and look for your videos.
Artificial Lighting
When natural lighting is not sufficient or available, artificial lighting comes into play. The key to working with artificial lighting is to create a natural-looking setup that complements the scene. Invest in a basic lighting kit that includes lights with adjustable intensity and color temperature. Three-point lighting setup – key light, fill light, and backlight – is widely used to create a balanced and professional look.
Using Reflectors and Diffusers
Reflectors and diffusers are handy tools for manipulating and modifying light. Reflectors bounce light back onto your subject, filling in shadows and adding a subtle, flattering glow. They come in various colors, such as silver, gold, and white, each creating a different effect. Diffusers, on the other hand, soften and spread the harshness of light, creating a more even and pleasing illumination.
Audio Tips
Clear and high-quality audio is just as important as visually stunning footage. Poor audio can ruin the overall impact of your videos. By focusing on choosing the right microphone, reducing background noise, and utilizing accessories like windshields and pop filters, you can ensure your audio is on par with your visual content.

Choosing the Right Microphone
Choosing the right microphone depends on the type of audio you need to capture. A shotgun microphone is ideal for capturing focused audio from a distance, while a lavalier or lapel microphone is perfect for interviews or dialogue-heavy scenes. Consider the environment you will be shooting in and the level of ambient noise to select the most suitable microphone for the job.
Reducing Background Noise
Background noise can be distracting and diminish the quality of your audio. Minimizing background noise starts with selecting a quiet shooting location. However, when filming in less controlled environments, such as outdoors or in crowded areas, employing noise reduction techniques during post-production can help clean up your audio and make it more professional.
Using Windshields and Pop Filters
Windshields and pop filters are essential accessories for outdoor and indoor audio recording, respectively. Windshields, also known as furry covers or dead cats, are placed over your microphone to block wind noise and other unwanted sounds. Pop filters, on the other hand, reduce plosive sounds caused by vocalizations like “P” and “B” sounds. These accessories are affordable investments that greatly improve audio quality.
Storyboarding and Planning
Storyboarding and planning are crucial steps to ensure a smooth and efficient filming process. By defining the purpose and theme, creating a shot list, and utilizing storytelling techniques, you can bring your ideas to life and create cohesive and engaging videos.
Defining the Purpose and Theme
Before diving into the creative process, it’s essential to define the purpose and theme of your video. Are you creating an informative tutorial, a captivating travel vlog, or an emotionally impactful short film? Determine your message and story, and let it guide your shot selection, composition, and editing choices.
Creating a Shot List
A shot list is a detailed plan that outlines the shots you need to capture for your video. It helps you stay organized and ensures you don’t miss any essential shots during the filming process. Break down your video into scenes and note down the specific shots, camera angles, and movements required for each scene. This will save you time and effort during the shoot and help you maintain consistency in your footage.
Storytelling Techniques
To create engaging videos, it’s crucial to employ storytelling techniques. Use visual and audio elements to evoke emotions, convey your message, and captivate your audience. Consider elements like shot sequencing, transitions, pacing, and music to enhance the narrative flow and create a memorable viewing experience.
Camera Movements
Adding camera movements to your shots can add a dynamic and visually appealing element to your videos. By incorporating techniques such as panning and tilting, tracking and dolly shots, and steadicam techniques, you can elevate the production value and engage your audience.

Panning and Tilting
Panning involves horizontally rotating your camera from a stationary position, while tilting involves vertically angling the camera up or down. These basic camera movements can introduce a sense of depth and provide a smooth transition between subjects or scenes. Experiment with different speeds and angles to add visual interest and engage your viewers.
Tracking and Dolly Shots
Tracking shots and dolly shots involve moving the camera along with the subject or scene. Tracking shots follow a subject’s movement, while dolly shots move the camera towards or away from the subject. These movements create a sense of motion and allow the viewer to experience the scene more intimately. Utilize a tripod with a fluid head or invest in a camera slider or dolly system to execute these movements smoothly.
Steadicam Techniques
Steadicam techniques involve using a stabilizing device, such as a Steadicam or a gimbal, to achieve smooth and steady shots while moving. These techniques allow you to maintain stability even when walking or running with the camera, resulting in cinematic and professional-looking footage. Practice using the stabilizing device of your choice to master these techniques and create captivating shots.
Editing and Post-Production
The editing and post-production stage is where your footage comes to life. By importing and organizing your clips, choosing the right editing software, and adding effects and transitions, you can shape your raw footage into a polished and visually appealing video.
Importing and Organizing Footage
Before diving into the editing process, it’s essential to import and organize your footage properly. Create a dedicated folder structure on your computer to keep all your clips organized. Use naming conventions and tags to ease the search and retrieval process later. Import the footage into your editing software, and create a timeline or storyboard to plan the sequence and arrangement of your shots.
Choosing the Right Editing Software
There are numerous editing software options available, each with its own features and learning curves. Choose a software that suits your skill level and budget. Beginners can start with user-friendly and cost-effective options like iMovie or Adobe Premiere Elements, while professionals may prefer robust and industry-standard software like Adobe Premiere Pro or Final Cut Pro.
Adding Effects and Transitions
Once you have your clips organized and arranged on the timeline, it’s time to add effects, transitions, and other visual enhancements. Experiment with color correction and grading to achieve a consistent and visually stunning look. Add transitions between shots to create smooth and seamless transitions. Utilize text overlays, lower thirds, or other graphics to convey information or enhance the storytelling aspect of your video.
Color Grading
Color grading is the process of adjusting the colors and tones of your video footage to achieve a specific look or mood. By understanding concepts such as color temperature, manipulating color balance, and creating visual styles, you can transform your footage into a visually stunning masterpiece.
Understanding Color Temperature
Color temperature refers to the warmth or coolness of light. Light sources with lower color temperatures, such as candlelight or sunset, appear warm, while higher color temperatures, like daylight or fluorescent lighting, appear cool. By manipulating the color temperature during post-production, you can create a specific atmosphere or mood to enhance the visual storytelling aspect of your video.
Manipulating Color Balance
Color balance refers to the distribution of colors in your footage. Adjusting the color balance allows you to correct any color casts caused by lighting or camera settings. By fine-tuning the levels of red, green, and blue channels, you can achieve a natural and balanced look or create a stylized and creative effect.
Creating Visual Styles
Color grading also provides you with the opportunity to create unique visual styles and establish a consistent look throughout your video. Experiment with different color grading techniques, such as desaturation, vintage or retro looks, or bold and vibrant color palettes. Remember to consider the mood and theme of your video and choose a style that complements your creative vision.
Distribution and Promotion
Once you have created your masterpiece, it’s time to share it with the world. By optimizing your video for different platforms, utilizing social media, and engaging with your audience, you can maximize the reach and impact of your work.
Optimizing for Different Platforms
Different platforms have specific requirements and guidelines for video uploads. Optimize your video by adhering to these guidelines. Consider resolution, aspect ratio, and file size restrictions. Additionally, customize your video thumbnail and metadata to grab viewers’ attention and improve searchability.
Utilizing Social Media
Social media platforms are a powerful tool for promoting and sharing your videos with a wide audience. Utilize platforms like YouTube, Instagram, Facebook, or TikTok to reach your target audience. Create engaging captions, hashtags, and descriptions to encourage viewers to watch and share your videos. Engage with your followers by responding to comments and fostering a sense of community around your content.
Engaging with the Audience
Building and maintaining a relationship with your audience is crucial for long-term success. Encourage viewers to leave feedback, ask questions, or share their thoughts on your videos. Respond promptly and respectfully to comments and messages. Consider creating behind-the-scenes content, Q&A sessions, or live streams to further engage with your audience and foster a loyal community of supporters.


